How to install latest Habitat using Sitecore 9.0.2 Update has been well blogged already by many of good friends like
Siva , in Community.
Here i try to blog it additional steps or Gotchas, which will save you hours if you wish to setup single instance in fresh Azure VMs, this might save time somebody who is new to Sitecore & want to have quick demo running in Single VM, rather going through full Sitecore PaaS. by Single Instance here I mean one VM have everything ex., Solr, Database, Sitecore XP0 configurations etc., The Azure VM I used is Windows Server 2016 with Container. Good thing it doesn't require installing Visual Studio. My next
I will list steps assuming you have nothing in VM, except RDP Login & Administrative Access to it.
Setup Java
- To start on new VM get Google Chrome to get away with annoying IE Dialog Boxes.
- Solr required Java to present. So we will try to install Java Standard Edition JDK. Recently Java had launched SE 11.0.1(LTS) which is current & long term support release while sun setting Java SE 8 series. Don't install SE 11.0 thinking latest is best as it is not compatible with Solr version we required.
- We still need to download Java SE(8u191) release from here. Install the Java JDK & setup Path variable & JAVA_HOME variable. It should look like following
 |
| Figure 1.1 |
- For Sitecore 9.0.2 (Update-2), We required to setup Solr 6.6.2. To setup same Jeremy Davis written an excellent PowerShell script which will do the required setup including Solr with SSL. Follow his post for information. Download & Unblock the PowerShell script while changing following values to suit
 |
| Figure 1.2 |
- But before you execute that script you need to run following command to Import Dependency
Import-Module BitsTransfer
- Once done you should be able to verify right installation as following:
 |
| Figure 1.3 |
Install IIS & its dependencies.
Before we start with actual installation of Sitecore & Habitat, we need couple of more things in place:
- Install Windows Features for IIS & other required Apps.
- Choose Role-based or feature-based installation
- Select local server
- Select all checkboxes as suggested below.
 |
| Figure 1.4 |
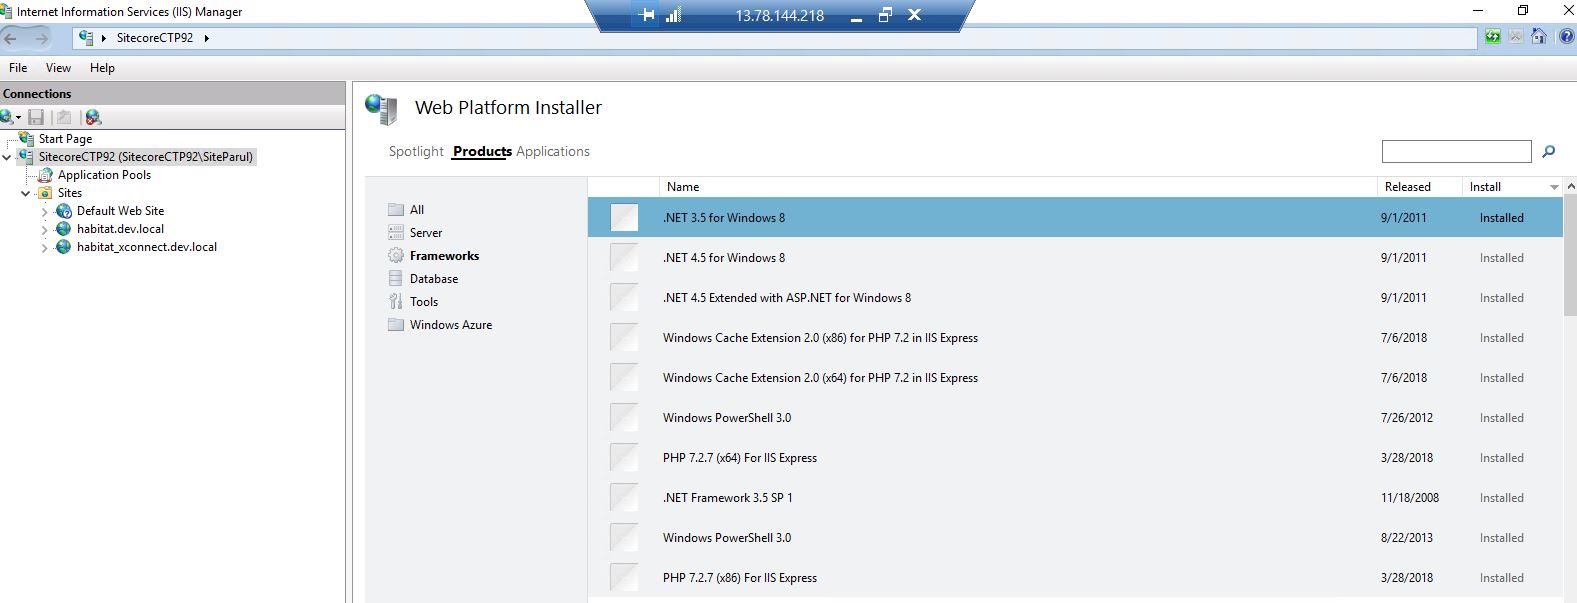
- If not present Install Web Platform Installer now come as Extension to IIS. After Installing it use it to install other required Server dependencies as show below, Few things might be already installed:
 |
| Figure 1.5 |
 |
| Figure 1.6 |
- Install other Framework dependencies, as listed following:
 |
| Figure 1.7 |
- Last is database dependencies, as listed following:
 |
| Figure 1.8 |
Install SQL Server Express
- I used latest available SQL Express 2017, Installed the name Instance with mixed authentication enabled always.
- After that install SSMS(SQL Server Management Studio). It's optional if you wish to remote Administer SQL server instance.
Install Mongo DB Community Server
- For development & demo purposed we can use Mongo DB Community edition & download it from here, be mindful of downloading correct release which for this Sitecore version which is 3.6.9
- In order to work with Mongo DB in GUI mode, I recommend to use RoboMongo which is now 3T. Again good for development & demo purpose.
Install NodeJS
- Install latest Node JS version available from here & direct media from here.
- Install gulp as Global by using following command
npm install --global gulp-cli
Install MS-Build
- Download Visual Studio Build Tools Bootstrapper from here. It will automatically select you Build Tools 2017. If you miss some features you re-run same exe but select Build Tools rather complete IDE versions like Enterprise, Professional or Community.
- Once download, double click & install it, with following components:
 |
| Figure 1.9 |
 |
| Figure 1.10 |
- You can also install it through completely no GUI mode.
Install Sitecore Habitat
Install-Module -Name Invoke-MsBuild
- Before running MSBuild run following command to quickly restore the Nuget packages & other dependencies, run this command from directory where you have .SLN file.
dotnet restore --runtime win
This will restore pacakges for Window x-86 as Runtime
- Once done fire up below command to run MS-Build
Invoke-MsBuild -Path "C:\Habitat\Habitat.sln" -ShowBuildOutputInCurrentWindow
- Next you run following command from directory where you have .SLN file.
npm install
- Last you need to run Gulp Task, by running following command
gulp
This will run default task. Incase due to some issue if you are gulp task is interrupted, you can run always again either full or if you know the specific task than run same for example.,
gulp Sync-Unicorn
End result should be same as what Siva had displayed.
 |
| Figure 1.11 |