
First & foremost let's appreciate Sitecore Community for contributing great effort for making Sitecore available through Docker Images up here. This little post up here is effort to document Sitecore Container installation in learn your way in single post, so be ready to open lot of chrome tabs :).
Following will be key points of this blog post:
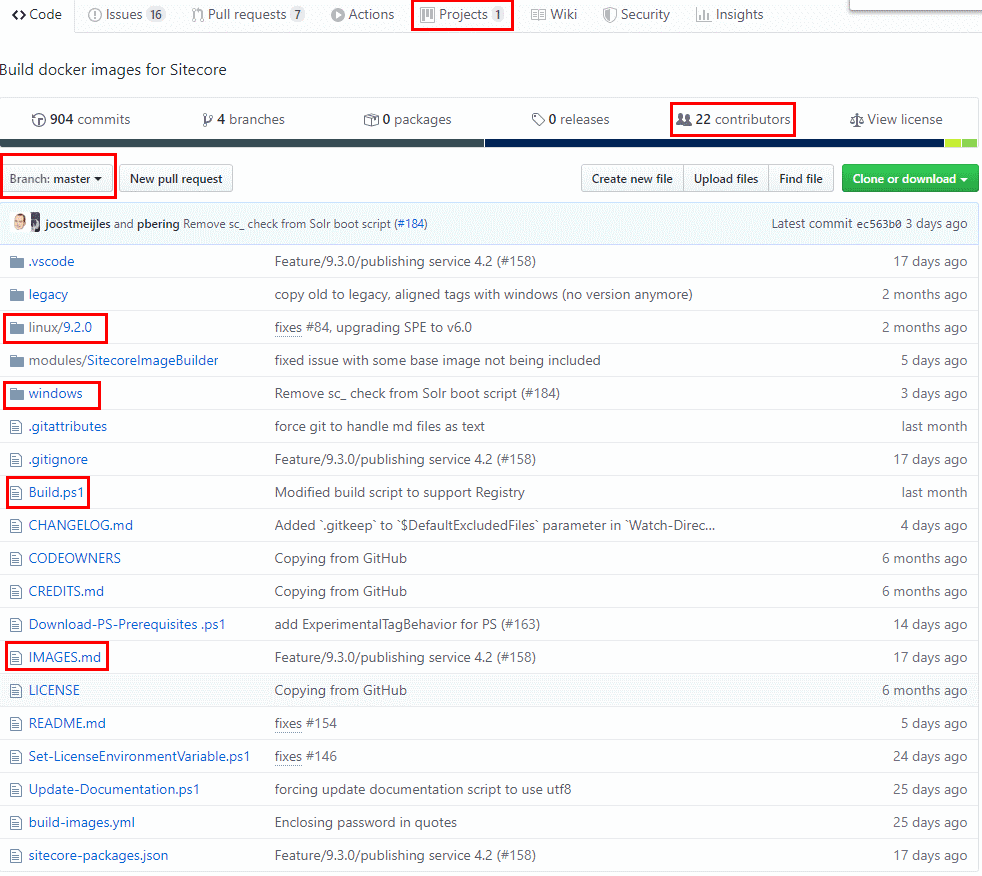
This Repo is designed to cater both for Windows & Linux containers, but to start with in this post we will talk on Windows flavor of Containers. This Repo is designed with PowerShell Scripts for lot of automation like downloading Sitecore Installation packages using your Sitecore Account of Official downloads. In case you already have most of Sitecore Downloads in form of original Zip Archive formats, than you can post all such downloads in ~/packages/ directory. This will save you time, as scripts are smart enough to ignore existing packages. This Repo supports Sitecore Installations starting from Sitecore version 9.0.2 to latest till date & continue to support all coming latest version up-till Sitecore start itself officially support Docker Containers as part of their documentation. This supports Sitecore Platform(CMS+DMS aka XP), Management(CMS Only aka XM), SXA with XP/XM flavor & finally with Publishing Server, this make it comprehensive options to choose from. This also intend to containerize all its dependencies & thus comes all you need to start in container way for development. To start you would also require your own Sitecore license. This is living & breathing repo so there are open items in Project tab which you should follow if you want to know what's in development & you can also raise issues etc., so keep engaging. Also please read actual ReadMe before you begin as I did not intend to repeat what has been documented already.
git clone https://github.com/Sitecore/docker-images.git
You can create your own feature branch or fork it out in case of serious tinkering if you intend to share with others. After cloning, enter the directory of cloned Repo & make new directory ~/packages/ & copy all existing Sitecore Archives for installation if you don't have any than Script will download for you, so no worries. Create new directory ~/../license/ outside of your cloned Repo & paste your license into that. Last I assume you had your docker hub account credentials ready with a private Repo name incase you are experimenting locally for actual build server you would use commercial private docker image repository like ACR(Azure Container Repository) etc., Though providing private repo url is optional but in that case all build images are stored locally only. That's all you need to start with building docker images, execute following command while being in repo directory. Again I assume you must have latest Powershell Core & running in Administrator mode:
Obviously replace contents including <..> here before executing. This will take time, I am serious even with 1 Gig Fiber Optics connection on Wifi & have SSD driven latest MS Surface book it might take hours like 2-6 hours. I have also noticed that if your laptop sleeps due to inactivity settings it might turn off wifi-network to save energy on battery mode etc., so make sure all those settings are off. Once successful, you should see bunch of images in your local & remote docker repo with docker images command as shown in Figure 1.3.
You might find an error like not able to build some solr image, my trick was to go to file "~\windows\9.x.x\sitecore-xp-solr\build.json" which keeps Solr windows build options. You can figure out your required build configuration based upon sitecore version & flavor you intend to install, for ex., I was looking on Windows for XP flavor of Sitecore 9.3.0, so i figured out following build command from same file & need to run from same directory:
Once done you can use existing Docker Compose YAML files to spin up your instance ready make sure you use -d argument so that it keep running in background. I would also request to examine compose file as this is next file format you should learn if you are new to docker. Following is command need to execute from "~\windows\tests\9.3.x\" directory.
Make sure you run quickly build Solr Indexes from Control panel, do publishing, do link build exercise to make sure all aspects & components are working as expected.
Following will be key points of this blog post:
- Docker on Windows Environment for Sitecore Installations
- Little walk through of Sitecore Docker Git Repository
- Actual Installation of XP0 flavor.
Now without further delay let's start with first point:
Docker on Windows Environment
 |
| Figure 1.1 |
There are tons of blog post/documentation both from Microsoft & Docker (Docker Desktop Client) available to make your Windows machine ready for Docker Containers. There are other alternatives like Orcale VirtualBox etc., which are great if you older version of Windows or due to some other reasons like you already have VirtualBox running than you must use this. Please also create you docker Account which will come handy later. In end if you have Docker Desktop Client Installed which is most preferred way than you must see something similar as shown up here in Figure-1.1. Make sure that you are on Windows Container not on Linux Containers for this post. Last thing on Docker learning is quick cheatsheat or list of commands most used.
Walk through of Git Repository
 |
| Figure 1.2 |
Sitecore Installation XP
To start make a quick copy of git repo using following usual command:git clone https://github.com/Sitecore/docker-images.git
You can create your own feature branch or fork it out in case of serious tinkering if you intend to share with others. After cloning, enter the directory of cloned Repo & make new directory ~/packages/ & copy all existing Sitecore Archives for installation if you don't have any than Script will download for you, so no worries. Create new directory ~/../license/ outside of your cloned Repo & paste your license into that. Last I assume you had your docker hub account credentials ready with a private Repo name incase you are experimenting locally for actual build server you would use commercial private docker image repository like ACR(Azure Container Repository) etc., Though providing private repo url is optional but in that case all build images are stored locally only. That's all you need to start with building docker images, execute following command while being in repo directory. Again I assume you must have latest Powershell Core & running in Administrator mode:
 |
.\Build.ps1 -SitecoreUsername "<YourSitecoreOnlineAccountEmail>" -SitecorePassword "<YourSitecoreOnlineAccountPassword>" -Registry "<YourDockerImagePrivateURL>" -RegistryUserName "<YourDockerImagePrivateUsername>" -RegistryPassword "<YourDockerImagePrivatePassword>"
or .\Build.ps1 -SitecoreUsername "<YourSitecoreOnlineAccountEmail>" -SitecorePassword "<YourSitecoreOnlineAccountPassword>" -Registry "<YourDockerImagePrivateURL>" |
| Figure 1.3 |
You might find an error like not able to build some solr image, my trick was to go to file "~\windows\9.x.x\sitecore-xp-solr\build.json" which keeps Solr windows build options. You can figure out your required build configuration based upon sitecore version & flavor you intend to install, for ex., I was looking on Windows for XP flavor of Sitecore 9.3.0, so i figured out following build command from same file & need to run from same directory:
docker build --build-arg BUILD_IMAGE=mcr.microsoft.com/windows/servercore:1809 --build-arg BASE_IMAGE=sitecore-openjdk:8-nanoserver-1809 --build-arg SOLR_VERSION=8.1.1 --build-arg CORE_NAMES='sitecore_core_index, sitecore_master_index, sitecore_web_index, sitecore_marketingdefinitions_master, sitecore_marketingdefinitions_web, sitecore_marketing_asset_index_master, sitecore_marketing_asset_index_web, sitecore_testing_index, sitecore_suggested_test_index, sitecore_fxm_master_index, sitecore_fxm_web_index, sitecore_personalization_index, sitecore_xdb, sitecore_xdb_rebuild' --build-arg MANAGED_SCHEMA_DEFAULT_NAME='managed-schema.default.930' --build-arg MANAGED_SCHEMA_XDB_NAME='managed-schema.xdb.930' -t sitecore-xp-solr:9.3.0-nanoserver-1809 .
Once done you can use existing Docker Compose YAML files to spin up your instance ready make sure you use -d argument so that it keep running in background. I would also request to examine compose file as this is next file format you should learn if you are new to docker. Following is command need to execute from "~\windows\tests\9.3.x\" directory.
 |
docker-compose --file .\docker-compose.xp.yml up --d
| |
| Figure 1.4 | ||
| You should see following containers running as shown in Figure 1.4 You can access the sitecore welcome page or cms admin page with container CD & CM using default usual sitecore creds. For ex., in my case from shared screenshot it is http://localhost:44002/sitecore/ & http://localhost:44001/sitecore/ respectively. | ||
 |
| Figure 1.5 |
Common Errors:
- You might also encounter an error like not able to push registry to access denied, you may skip private repo parameters with Build.ps1 file, If testing is all you want in local. This error is more related to proper docker login with your session being in right namespace & org.
- If you are like where you tried XM which worked great & now playing with XP but somehow your SQLDev Container is stopping & you see network error for your page please look to this Issue #154, fix is to run ./Clean-Data.ps1 file but before running make sure your XM or XP containers are removed, by simply using compose with down switch.
- Obviously refer to Sitecore Stack Exchange or existing Issues in Docker Git Repo.
I hope this helps but will follow up on this to add further on this docker theme.
No comments:
Post a Comment